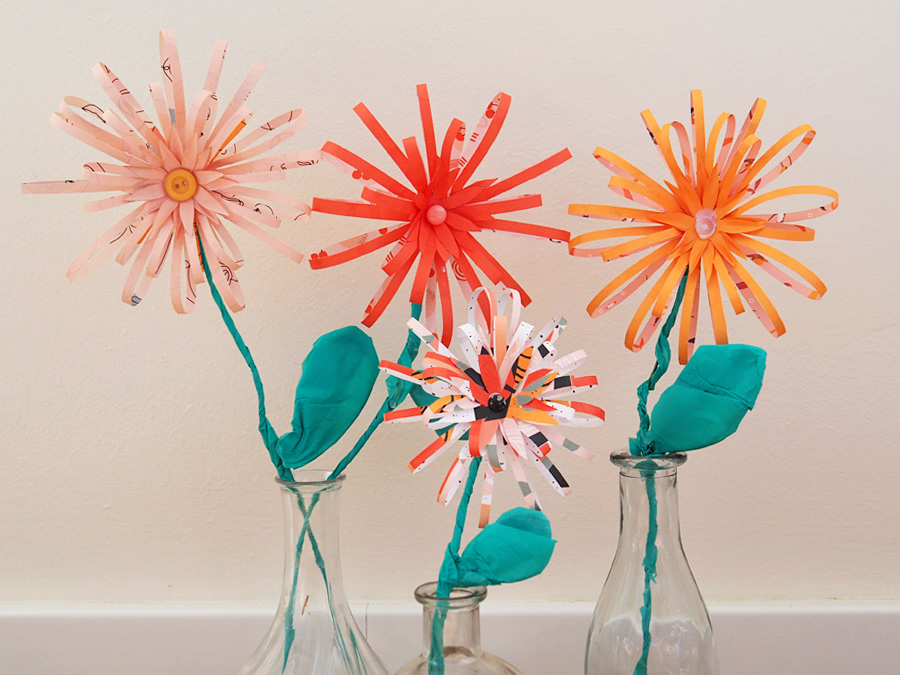
We’re smitten with spring… the gardens and woods fill up with delightful flowers that spread light, peace and beauty. Would you like to have your own garden? Today we propose you make your own bouquet of paper flowers. You can place them on a table, on top of a chest of drawers or a shelf that needs a touch of colour… wherever you fancy the most! Shall we begin?
Materials:
- 3 sheets of scrapbook paper
- 14 gauge metal jewelry wire
- Green wrapping tissue paper
- Un button
- Wire
- Ruler
- Glue
- Scissors
Follow these steps:
1. Start by cutting two of the sheets of paper into about 8 cm. A paper cutter is the easiest way to do this, but it can also be done by hand.
2. Out of the other sheet of paper, you will cut two 13cm circles (one for the front and one for the back) of the flower. Also cut a small flower (about 5 cm) out of this paper to cover the front section of the flower.
3. Start with one of the circles lying flat and glue 1/2 the strips around the circle, then fold each upward and glue into place to make the petals.
4. Do this a second time on the inside of the first petals to make two rows and add texture.
5. Next, glue the flower you cut out onto the top to cover all the glue dots and loose ends, top with a button for fun spring style.
How to make a paper flower stem
1. Make the stems by covering a length of the wire with the green tissue paper. Just wrap and glue into place.
2. Make a leaf for the stem by winding the wire into a leaf form and covering with the tissue paper. Leave about 2 inches wire sticking out of the leaf to wind around the stem to hold into place.
