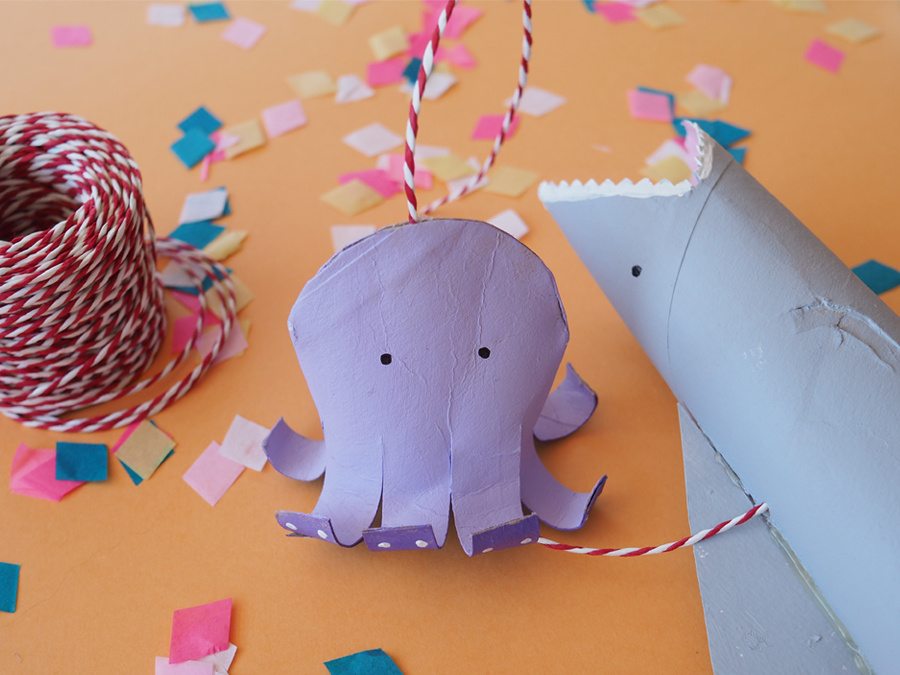
If you’ve already visited our blog, you’ll know that one of our favourite materials are recycled toilet roll tubes. Never throw them out! You can make letters, ornaments, fake ice-cream cones, and these ocean animals! They’re fun and can be made fast. Besides they look wonderful when they’re finished. We couldn’t love this craft more.
Materials:
- Toilet paper tubes
- Scissors
- Pencil
- Pieces of cardboard (from an empty cereal box)
- Craft cutter
- White glue
- Paints
- Brushes
- Black paper
- Large sewing needle
- Thread (optional)
How to make the Octopus
1. Cut four legs at one end of the toilet roll tube.
2. Flatten the other end of the tube and cut it on both sides for a head, rounding it off while doing so.
3. Open the upper part of the head, apply some glue on its inner edge and press it together to close it. Hold it for a few minutes or use a clothes peg or clip to keep it closed. Let it dry.
4. Curl each leg upwards by coiling it around a pencil.
5. Paint the octopus.
6. Perforate the black paper to make eyes. Once the paint is dry, stick or draw the eyes on.
How to make the Shark
1. Cut out the basic form of a shark.
2. On card paper, draw and cut out an upper fin and a tail.
3. Use the scissors to make an opening for the tail and, with the cutter, make slots for the top fin and side gills. Place the fins in their slots. Put a fine line of glue where the fins attach to the slots, and clean off any excess. Fold the top fin and let it dry.
4. Once the glue has dried, paint the inside (as far as you can reach) pink, the outside, grey and the teeth, white.
5. Perforate black paper for the eyes. Stick the eyes on or draw them once the paint has dried.
How to make the Fish
1. Cut out the mouth of the fish at one end of the toilet roll tube.
2. On the cardboard, draw and cut out pieces for the two side fins, the upper and lower fins and the tail fin. You can use the scissors to cut a zigzagging edge, if you like.
3. Use the craft cutter to make the openings for the fins. Slip the fins into their slots and put a fine line of glue on the part where the fins attach to the slits. Clean off the excess glue and leave it to dry.
4. When the glue has dried, paint the inside (as far as you can reach) a dark pink in colour and the outside in blue.
5. Perforate the black paper for the eyes. Stick the eyes on or draw them once the paint has dried.
